



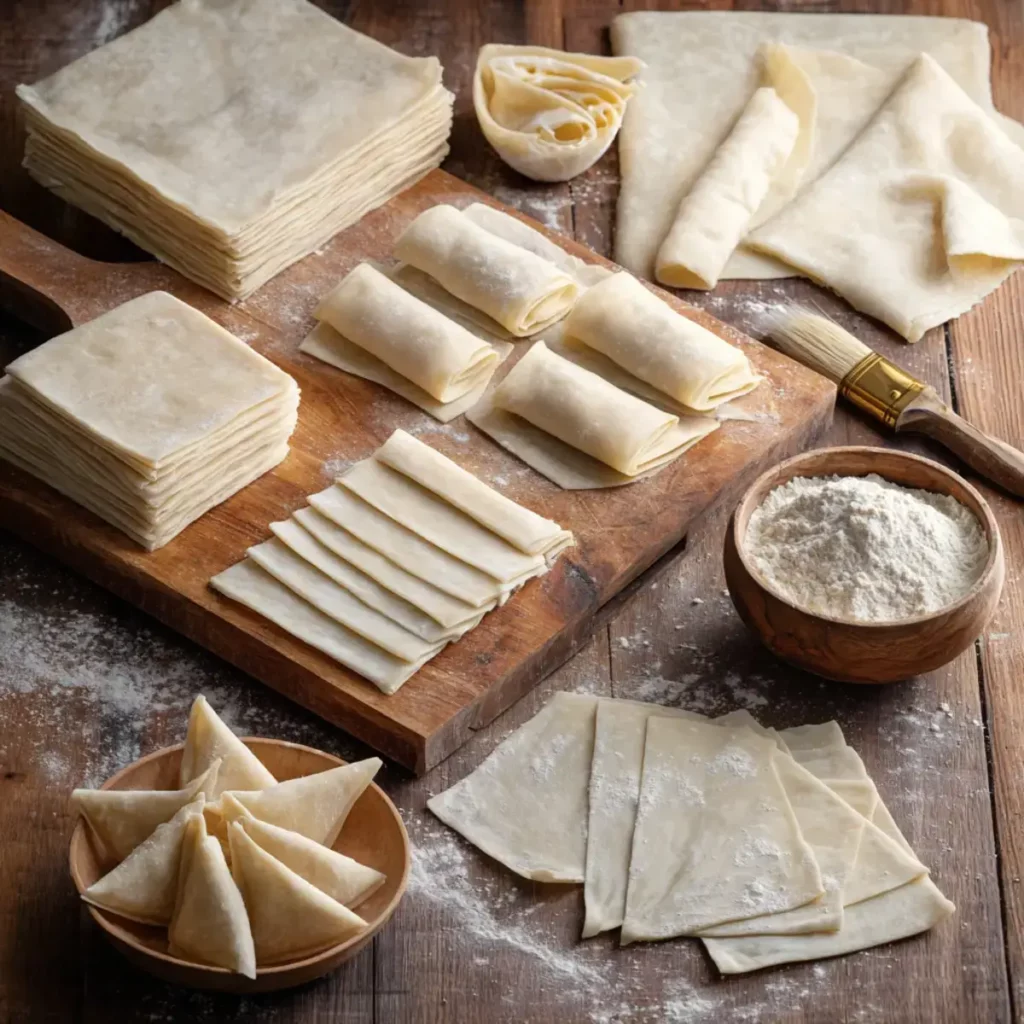
This Sweet Homemade Samosa Sheets recipe brings a nostalgic warmth to the kitchen, blending traditional rolling techniques with a soft dough that lays the foundation for crisp, golden samosas. These sheets create that familiar flaky bite, offering a homemade approach that feels comforting, simple, and deeply rewarding.
 Save
Homemakers search for this recipe when they want thin, smooth, flexible sheets for perfect samosas.
What Are Sweet Homemade Samosa Sheets
Sweet Homemade Samosa Sheets are thin, pliable dough layers used to wrap samosa fillings before frying or baking. While store-bought sheets offer convenience, homemade versions provide richer texture, better control over thickness, and a classic flavor. These sheets cook lightly on a tawa, puff gently, and separate into beautifully thin layers once warm ideal for shaping cones, pockets, or rolls.
Their charm lies in their flexibility. Properly kneaded and rested dough helps create sheets that bend without cracking. The brushed oil and flour layers allow the sheets to separate cleanly, forming individual wrappers that feel professionally crafted but still carry the warmth of homemade cooking.
This method also pairs beautifully with classic dough recipes like the buttery texture found in baked soft pretzels, where elasticity and smooth handling matter. It also mirrors the shaping techniques seen in dill pickle cheddar biscuits, which rely on layering and light hands.
Why You’ll Love This Recipe
You’ll appreciate Sweet Homemade Samosa Sheets because they put you in control of every detail the dough softness, the thickness, the layering, and the final pliability. They allow you to create samosas that fry evenly, crisp beautifully, and hold fillings securely without tearing.
These sheets store well, adapt to any filling, and work beyond traditional samosas. You can use them for spring rolls, box patties, hand pies, or even creative appetizers. Because they cook only partially on the tawa, they retain moisture and flexibility, making shaping effortless.
If you enjoy experimenting with fried or snack-style recipes, you’ll feel right at home with this technique. It aligns naturally with skills used in shaping crispy cheese corn sticks or forming layers for bite-sized Christmas tree appetizers. Every roll of the dough brings a comforting familiarity wrapped in a little culinary craftsmanship.
How to Make Sweet Homemade Samosa Sheets
Quick Overview
Make a soft dough, let it rest, divide into small balls, roll into thin circles, stack and laminate with oil and dry flour, roll again, lightly heat on the tawa, then peel into individual sheets.
Ingredients
 Save
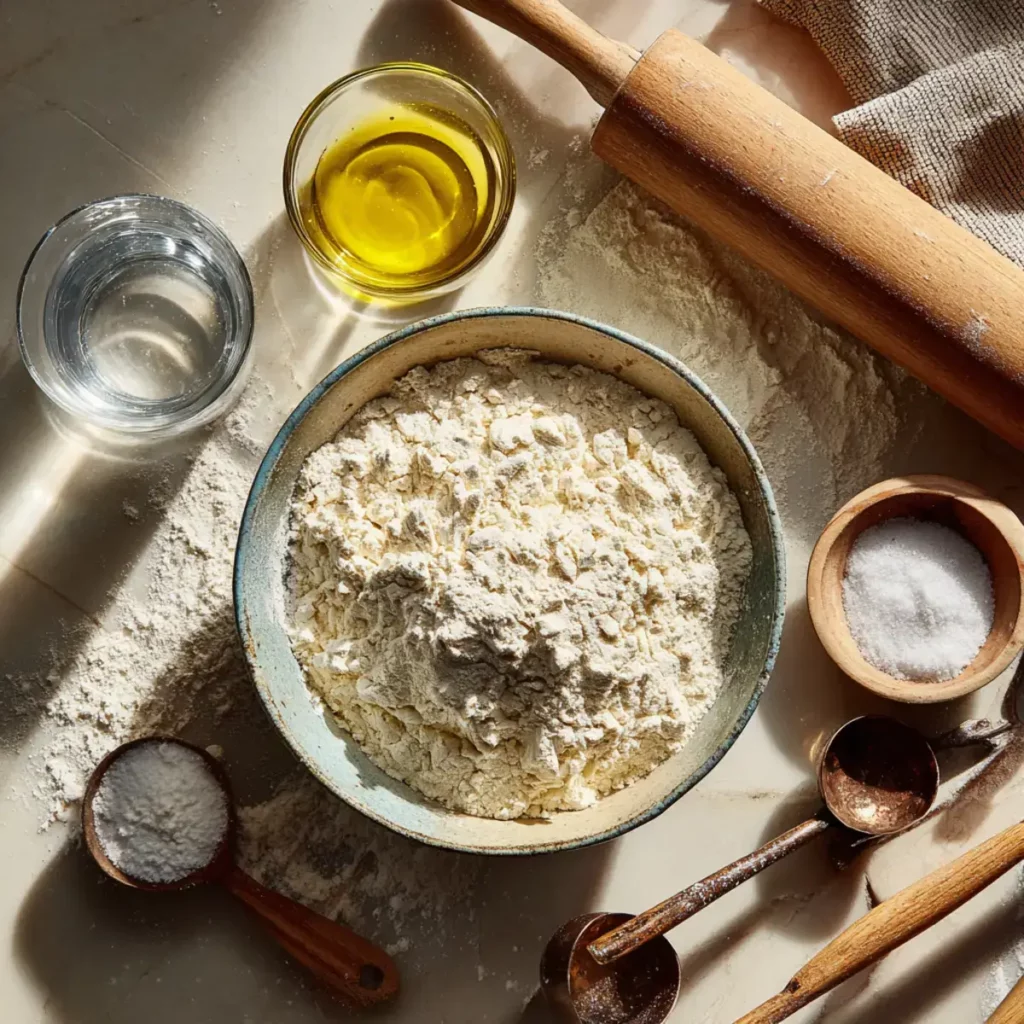
- 2 cups all-purpose flour (maida)
- ½ teaspoon salt
- ¾ cup water (adjust as needed)
- 2–3 tablespoons oil (for brushing between layers)
- Extra dry flour for dusting
Step-By-Step Instructions
Prepare the Dough
In a large bowl, add all-purpose flour and salt. Mix until well combined. Add water slowly, kneading steadily until you form a smooth medium-soft dough. Aim for a pliable texture not sticky, not stiff that stretches without cracking. This softness ensures the samosa sheets roll thin and remain flexible.
Rest the Dough
Cover the dough and allow it to rest for 10–15 minutes. This relaxation period softens the gluten, making the dough easier to handle. Once rested, knead again for 1–2 minutes to refine smoothness. Divide into 16 equal balls and keep them covered to prevent drying.
Roll the Dough
Dust lightly with dry flour and roll each ball into thin rotis. A circle of about 6–7 inches works best. Thinness matters: too thick, and the sheets become chewy; too thin, and they tear during peeling.
Laminate the Rotis
Brush one rolled roti with a thin layer of oil and sprinkle a pinch of dry flour. Layer another roti on top. Repeat until you have a stack of four rotis. This lamination step helps the layers puff slightly during heating, making them easy to separate.
Roll the Stack
Place the four-layer stack on your rolling surface. Roll gently into a larger thin circle. Avoid pressing too hard you want the layers to merge slightly without sealing together.
Light Cook on Tawa
Heat a tawa on medium. Place the rolled stack on the hot surface briefly just a few seconds on each side. Light bubbles should appear, but the sheets must remain pale and soft. Fully cooking them will make them brittle and impossible to separate.
Separate the Layers
Remove the stack while warm and immediately begin peeling the layers. Peel gently and slowly to form thin, individual samosa sheets.
Trim edges if necessary to achieve uniformity.
Your Sweet Homemade Samosa Sheets are now ready.
These sheets pair wonderfully with savory appetizers and crispy snacks, similar to the textural contrast found in crispy mashed potato pancakes with savory meat filling another recipe that requires the right balance of softness and crispness.
What to Serve Samosa Sheets With
Homemade samosa sheets serve as the perfect base for countless fillings. Whether you prefer sweet, savory, spicy, or tangy combinations, the sheets adapt effortlessly. Classic potato filling, keema, paneer, sweet coconut, chocolate, or apple spice mixtures all find a home in these wrappers.
They also complement snack boards, fried starters, and tea-time plates. Use them for spring rolls, crispy pockets, cheese rolls, or even dessert rolls. Their versatility makes them a reliable base when planning festive spreads.
Serve alongside yogurt dips, chutneys, spicy sauces, or herbed cream dips. Their mild flavor highlights any filling and dipping pairing.
Top Tips for Perfecting Samosa Sheets
Rest the Dough Enough
Under-rested dough becomes tight and elastic, refusing to roll thin. Ten to fifteen minutes ensures flexibility.
Roll Evenly
Uneven thickness leads to uneven frying. Keep your rolling pressure smooth and consistent.
Don’t Overcook on the Tawa
Overcooking locks the layers, making separation messy or impossible.
Peel While Warm
Warm sheets separate beautifully; cold sheets stick and tear.
Keep Dough Covered
Exposure to air dries the dough quickly, causing cracks during rolling.
Storing and Reheating Tips
Sweet Homemade Samosa Sheets store well for later use. After separating the sheets, place them in an airtight container with parchment or plastic between each layer. Store in the refrigerator for three days or freeze for up to two months.
When ready to use, thaw frozen sheets at room temperature for 30 minutes. Avoid microwaving; it can dry or stiffen the sheets.
If the sheets feel slightly dry, cover them with a damp cloth for a few minutes to restore flexibility.
FAQs
What are common samosa-making mistakes?
How to keep samosas crispy for a long time?
How to stick samosa sheets?
How long should samosa dough rest?
Can I make this recipe ahead of time?
Sweet Homemade Samosa Sheets showcase the joy of traditional cooking, offering a beautiful balance of technique and creativity. Each step from kneading to laminating brings you closer to perfect wrappers that handle fillings gracefully and fry to crisp golden perfection. Whether you're preparing them for holidays, gatherings, or simple afternoon snacks, these sheets make every samosa feel thoughtfully crafted and wonderfully nostalgic.
If you’d like more cooking inspiration and home-style recipe ideas, connect with us on Facebook and follow our latest creations on Pinterest.
Homemade Samosa Sheets
Print recipe Save
Thin, flexible Sweet Homemade Samosa Sheets made from a soft kneaded dough, lightly layered with oil and flour, and gently heated to separate into smooth, perfect wrappers for samosas, spring rolls, or patties.
- Prep time
- 15 minutes
- Cook time
- 10 minutes
- Total time
- 25 minutes
- Yield
- 16 sheets
Ingredients
2 cups all-purpose flour (maida) 1/2 teaspoon salt 3/4 cup water (adjust as needed) 2–3 tablespoons oil (for brushing between layers) Extra dry flour for dustingInstructions
- Mix Dry Ingredients: In a bowl combine flour and salt.
- Form Dough: Add water gradually and knead into a smooth medium-soft dough.
- Rest Dough: Cover and rest for 10–15 minutes.
- Knead Again: Knead 1–2 minutes and divide into 16 dough balls.
- Roll Rotis: Roll each ball into thin circles, dusting with flour.
- Layer Rotis: Brush one with oil, sprinkle flour, and stack 4 together.
- Roll Stack: Gently roll the stack into a large thin circle.
- Heat Partially: Cook on a warm tawa for a few seconds per side do not brown.
- Separate Sheets: Peel layers apart while warm.
- Trim & Use: Cut edges if needed; samosa sheets are ready.
Notes
Roll evenly for consistent frying results. Peel sheets while still warm to avoid tearing. Avoid overcooking on the tawa or layers will not separate.Nutrition
- Calories
- 58
- Fat
- 1g
- Saturated fat
- 0g
- Sugar
- 0g
- Sodium
- 59mg
- Protein
- 1g
- Carbohydrates
- 11g
- Fiber
- 0g
Comments
Leave a comment