



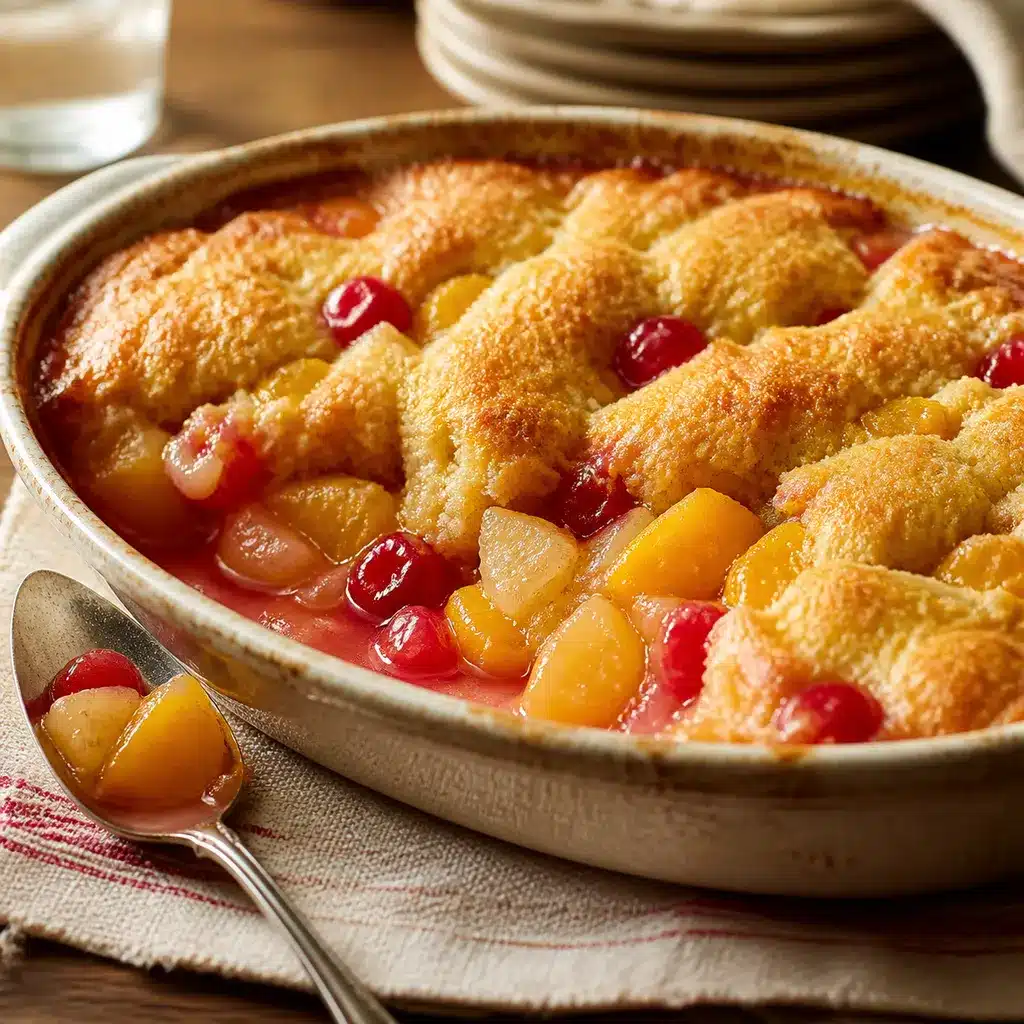
Dolly Parton’s Cuppa Cuppa Cake Recipe is the sort of old-fashioned dessert that makes a busy day feel easier. With a cup of self-rising flour, a cup of sugar, and a cup of fruit cocktail with its juice, you get a golden, spoonable cobbler-style dessert with almost no fuss.
 Save
It is a true pantry recipe: simple measurements, one bowl, and a warm homemade result that is perfect with coffee or a scoop of vanilla ice cream.
What Is Dolly Parton’s Cuppa Cuppa Cake Recipe?
Cuppa Cuppa Cake gets its cheerful name from the equal-cup method. The version popularized by Truvy in Steel Magnolias uses a cup of self-rising flour, a cup of sugar, and a cup of fruit cocktail with its juice. The fruit bakes into a bubbling base beneath a simple golden topping.
This unfussy approach makes it especially helpful for new bakers, because the formula is easy to remember and the ingredient list stays short. The appeal is not precision for precision’s sake. It is the confidence of knowing that a few familiar ingredients can turn into a cozy dessert without a mixer, a complicated frosting, or a long shopping list.
Why You’ll Love This Cake
You need only four main ingredients. The batter comes together in minutes, the crumb stays soft, and the recipe is easy to scale for a casual family dessert or a potluck. For another cheerful bake, our Philadelphia pumpkin cheesecake makes a lovely seasonal companion.
| Feature | Details |
|---|---|
| Prep time | 10 minutes |
| Bake time | 35 to 40 minutes |
| Yield | 9 squares |
| Best for | Weeknight dessert or coffee cake |
How to Make Dolly Parton’s Cuppa Cuppa Cake Recipe
Ingredients
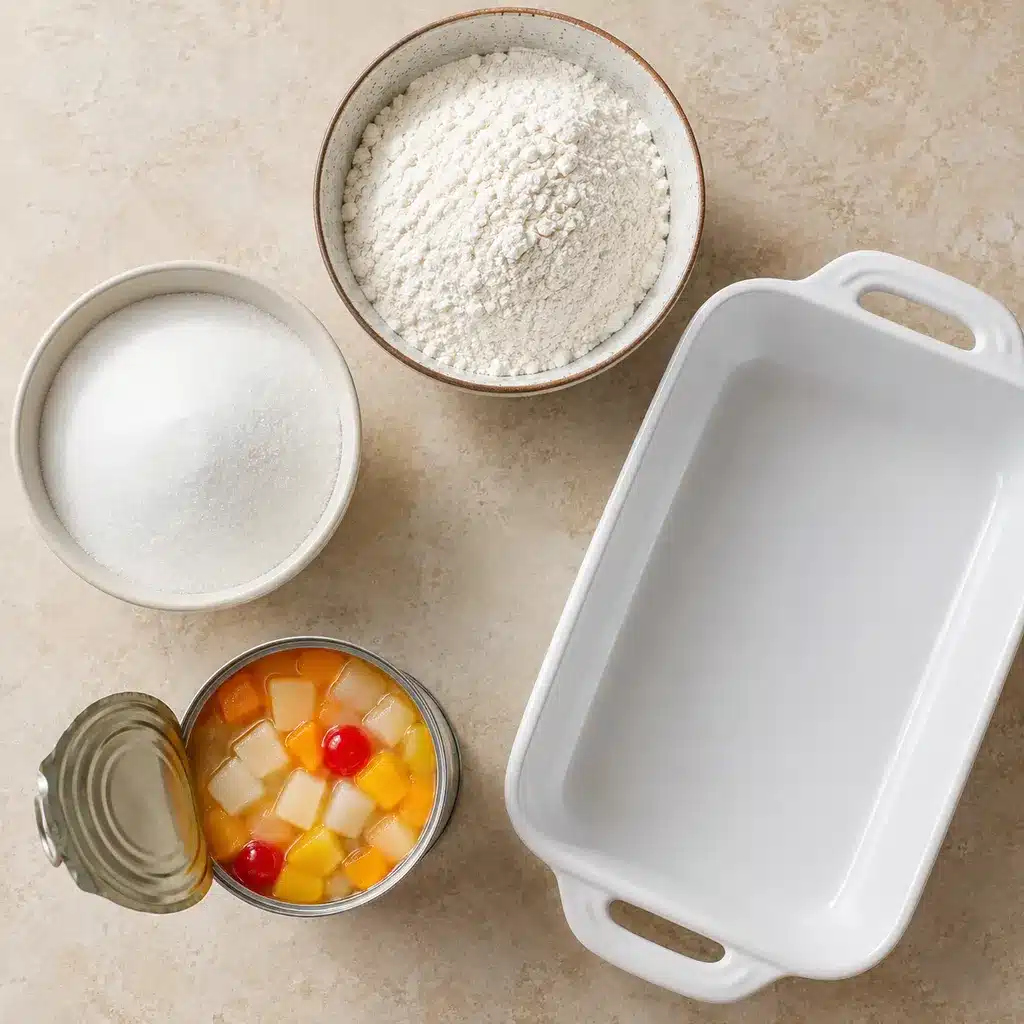
Use self-rising flour for the easiest, most reliable lift. Whole milk gives the cake a gentle richness, while melted butter brings the flavor home.
 Save
Step-by-Step
Heat the oven to 350°F and grease a 9-inch square pan. Whisk flour and sugar, add the milk, and stir only until the batter looks smooth. Fold in half the butter, pour the batter into the pan, and drizzle the rest over the top. Bake until the top is deeply golden and a toothpick comes out clean.
What to Serve With It
Serve warm squares with whipped cream, fresh berries, or vanilla ice cream. It is equally lovely plain with afternoon coffee or a cold glass of milk. If you are building a dessert table, pair it with our Viral Dot Cake Recipe or browse these easy no-bake cheesecake recipes.
Top Tips for Perfect Cuppa Cuppa Cake
Measure the fruit cocktail with its juice and use self-rising flour for a reliable lift. Do not substitute all-purpose flour unless you add the appropriate leavening and salt. Bake the cake on the center rack for even heat, and start checking it a few minutes early if your pan is dark metal. Stop mixing once the batter is combined; overmixing makes the cake less tender. Let it rest 15 minutes before slicing so the crumb can set.
Storing and Reheating
Cover leftovers and keep at room temperature for up to two days, or refrigerate for up to five days. Warm an individual square for 10 to 15 seconds in the microwave to bring back its just-baked softness.
FAQs
Can I use all-purpose flour?
Yes, but add baking powder and salt; self-rising flour keeps this traditional version especially simple.
Can I add fruit?
Absolutely. Fold in a cup of blueberries or diced peaches, then check for doneness because juicy fruit can add a few minutes.
Dolly Parton's Cuppa Cuppa Cake Recipe
Print recipeSaveA simple three-ingredient fruit cocktail cobbler-style dessert inspired by the Cuppa Cuppa Cake from Steel Magnolias.
- Prep time
- 10
- Cook time
- 40
- Total time
- 50
- Yield
- 9 squares
Ingredients
1 cup self-rising flour 1 cup granulated sugar 1 cup fruit cocktail, with juice Vanilla ice cream or whipped cream, optionalInstructions
- Heat the oven: Set the oven to 350°F and lightly grease a small baking dish.
- Mix: Stir self-rising flour, sugar, and fruit cocktail with its juice until combined.
- Bake: Bake 30 to 35 minutes, until the fruit bubbles and the topping turns golden.
- Rest and serve: Let stand 10 minutes, then spoon warm portions into bowls and add ice cream if desired.
For a pretty finish, serve each square on a small plate with berries or a spoonful of softly whipped cream. Add a cool contrast with our Cherries in the Snow dessert when you want a second make-ahead sweet.
The cake needs no icing, which is exactly why it works so well for easy entertaining.
How the Cuppa Cuppa Ratio Works
The name is a memory aid, not a mystery. One cup of flour provides structure, one cup of sugar sweetens and helps the surface brown, and one cup of milk hydrates the batter. Self-rising flour already contains leavening and salt, so the ingredient list stays remarkably short. That is why it is worth checking the bag before you begin: plain flour and self-rising flour are not interchangeable cup for cup.
Fruit juice is the finishing touch that makes this three-ingredient mixture bake into a true cobbler-style dessert. The result should be bubbly around the fruit, golden on top, and easy to spoon after a short rest.
Ingredient Notes and Easy Swaps
Use canned fruit cocktail with its juice; the juice hydrates the flour and helps create the saucy fruit layer. Do not drain it. You can swap in canned peaches or pears with their juice, but keep the quantity close to one cup so the texture stays balanced.
Add vanilla only if you want it; the classic version is pleasingly plain. A pinch of cinnamon works well with diced apples or peaches. If you fold in fruit, pat it dry first and keep the amount to about one cup. More fruit can leave the center too wet before the edges are done.
Pan Choices, Timing, and Doneness
A small casserole dish or 8-inch square baking dish works well and gives the fruit enough depth to bubble. A larger 9-by-13-inch dish creates a thinner dessert that bakes faster, so begin checking it around 25 minutes. Glass pans can bake more gently than metal, while dark metal pans can brown faster. In either pan, set the cake on the center rack for steady heat.
Look for a deep golden top, edges that pull just slightly away from the pan, and a toothpick with only a few moist crumbs. If the top is brown but the center still looks glossy, cover loosely with foil and continue baking in short increments. Letting it stand before slicing is important: a hot cake can seem underdone even when it simply needs time to finish setting.
Troubleshooting Common Cake Problems
If your cake feels dry, the usual cause is overbaking or too much flour packed into the measuring cup. Spoon flour into the cup and level it off rather than scooping directly from the bag. If it sinks in the middle, check that your self-rising flour is fresh and avoid opening the oven during the first 25 minutes.
A pale top usually means the pan was placed too low or the butter was not spread across the surface. A very browned top with a soft center suggests a pan that conducts heat quickly; tent it with foil next time and reduce the oven temperature by 10 to 15 degrees if your oven tends to run hot. These small adjustments make the recipe dependable without turning it into a fussy project.
Serving Ideas and Variations
For a classic dessert, serve the cake warm with vanilla ice cream. Fresh strawberries, peaches, or blueberries bring a bright contrast to the buttery crumb. For a brunch-style version, skip the powdered sugar and serve small squares with coffee, tea, and a bowl of fruit.
You can turn the base into a simple seasonal cake by folding in berries, a little citrus zest, or diced stone fruit. Keep additions modest so the familiar cup-for-cup balance remains intact. If you like chilled, creamy desserts for warm weather, our no-bake pineapple cream dessert is another easy option for a casual dessert spread.
Make-Ahead, Storage, and Freezing
This cake is best on the day it is baked, but it also holds well for planning ahead. Bake it the day before, cool it completely, and cover it tightly. For longer storage, wrap individual squares in parchment and place them in a freezer-safe container. Thaw at room temperature, then warm briefly if you prefer a soft, just-baked feel.
Keep perishable toppings such as whipped cream or ice cream separate until serving. If you are unsure about safe storage times for prepared foods, the FoodSafety.gov cold-food storage chart is a practical, authoritative reference.
A Simple Cake for Sharing
This is a good recipe to keep for last-minute guests because the ingredient list is short and the pan travels well. Let the cake cool completely if you are taking it to a gathering, then cover the pan tightly and dust with powdered sugar just before serving. For a casual family meal, place the pan in the center of the table and let everyone choose a warm square and their favorite topping.
The recipe is also a useful starting point for building baking confidence. You learn how to measure, how a simple batter should look, and how to judge a cake by color and texture instead of relying only on the timer. Once you make it once, the cup-for-cup formula is easy to remember.
More Questions About Cuppa Cuppa Cake
Do I need a mixer? No. A whisk and a bowl are enough. Mix only until the flour disappears so the cake stays tender.
Can I double the recipe? Yes. Double every ingredient and use a 9-by-13-inch pan. Start checking the cake around 35 minutes, then continue until the center tests done.
Can I use salted butter? Yes, although the flavor will be a little saltier. It works especially well if your self-rising flour is not heavily salted.
Wrapping Up
Dolly Parton’s Cuppa Cuppa Cake Recipe proves that a great Southern dessert does not need to be complicated. Keep this one close for the days when you want something sweet, warm, and wonderfully uncomplicated. For a festive dessert table, a layered holiday trifle gives guests a second texture to enjoy. For evidence-based food-storage information when planning ahead, visit FoodSafety.gov, a U.S. government food-safety resource. Share your finished dessert with our Facebook community or save it to Pinterest for later.
Comments
Leave a comment
Your email will not be published. New comments are reviewed before appearing.